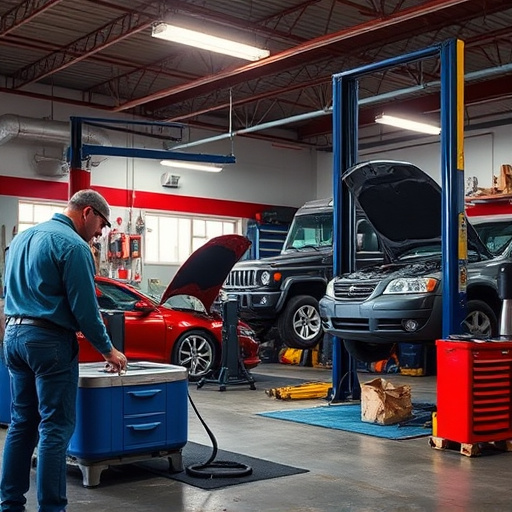
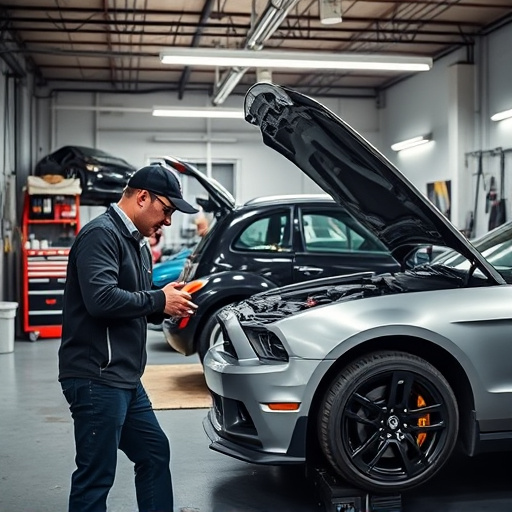


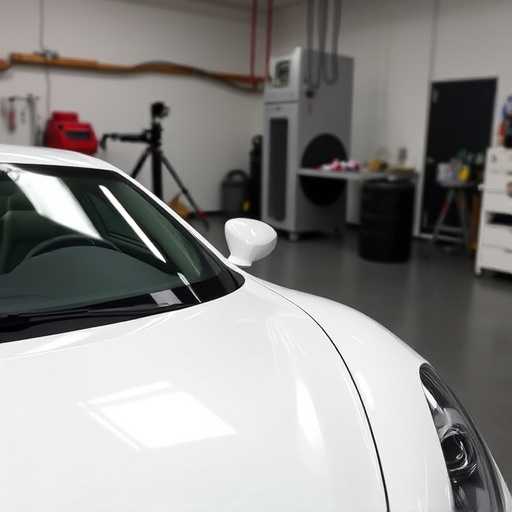
Tesla impact sensors are crucial for vehicle safety, monitoring surroundings and enabling ADAS features. Before replacing them DIY, gather proper tools and parts, ensuring a safe process for optimal collision repair. Park car, discharge electricity, remove panel to access sensor, following owner's manual instructions.
Looking to replace your Tesla impact sensor? This comprehensive DIY guide breaks down the process step-by-step. First, we’ll explore the basics and functionality of these crucial safety components, helping you understand their vital role in your Tesla’s collision detection system. Then, we’ll list the necessary tools and materials for a successful replacement. By following our easy-to-follow instructions, you’ll be able to safely and effectively replace your Tesla impact sensor like a pro.
- Understanding Tesla Impact Sensors: Basics and Functionality
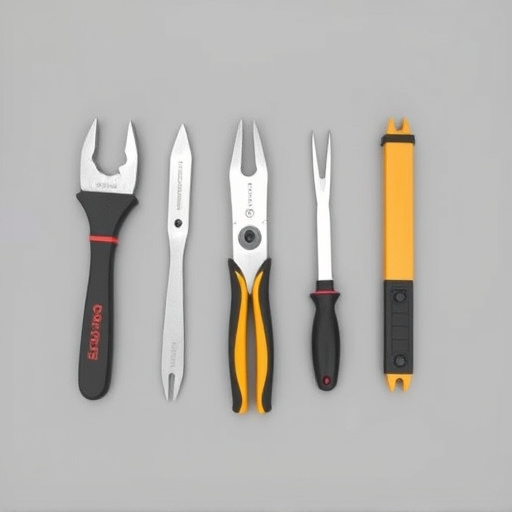
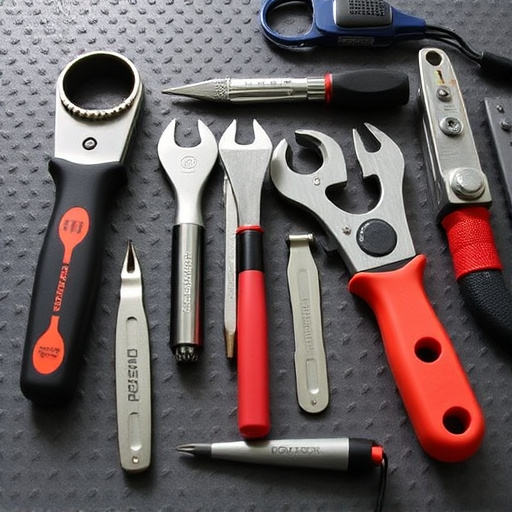
- Gathering Tools and Materials for Replacement
- Step-by-Step Guide to Replacing Your Impact Sensor DIY
Understanding Tesla Impact Sensors: Basics and Functionality
Tesla Impact Sensors are an integral part of modern vehicle safety systems. These sensors, strategically placed around your Tesla, play a crucial role in detecting and assessing potential collision risks. They act as the eyes and ears of your car’s crash avoidance technology, providing real-time data to help prevent accidents or mitigate their impact. The sensors detect changes in velocity and distance, allowing your Tesla’s advanced driver-assistance systems (ADAS) to respond swiftly.
Each sensor is designed to work harmoniously with others, creating a network that continuously monitors the vehicle’s surroundings. This includes detecting objects like other cars, pedestrians, and traffic signs. When an impact or potential collision is sensed, the information is instantly relayed to the car’s computer, which then triggers appropriate safety measures, such as automatic braking or steering interventions. Understanding these sensors is key when considering a Tesla impact sensor replacement, especially for those looking to perform DIY repairs, ensuring their vehicle remains equipped with the latest safety features.
Gathering Tools and Materials for Replacement

Before tackling a Tesla impact sensor replacement, ensure you have all the necessary tools and materials. This includes a new impact sensor, a diagnostic scanner (for coding after replacement), wrenches, screwdrivers, and possibly some adhesive or sealing compounds. It’s crucial to source genuine Tesla parts for accurate Tesla impact sensor replacement and seamless integration with your vehicle’s systems.
For a successful vehicle collision repair, consider safety gear like gloves and safety glasses. Since the sensor is located near the vehicle’s exterior, protect yourself from debris during removal and installation. Remember, proper preparation ensures a smooth auto body repair process and optimal performance of your Tesla’s safety features.
Step-by-Step Guide to Replacing Your Impact Sensor DIY

Replacing your Tesla impact sensor yourself can seem daunting, but with a step-by-step approach and the right tools, it’s a manageable task for any owner. Here’s our DIY guide to help you through the process:
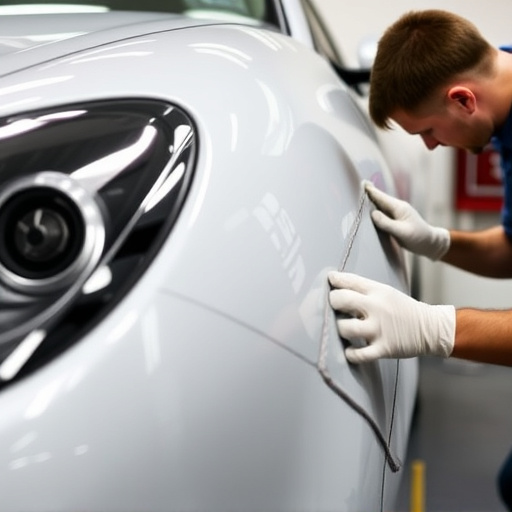
1. Preparation: Park your Tesla on a level surface, engage park mode, and ensure the key is removed. Discharge any residual electricity by opening all doors and windows. This step prevents unexpected shocks during disassembly. Gather your tools, including a screwdriver compatible with your Tesla model, a new impact sensor, and protective gloves for safety.
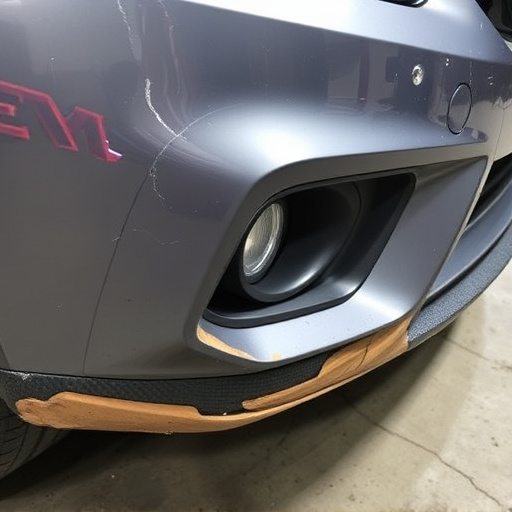
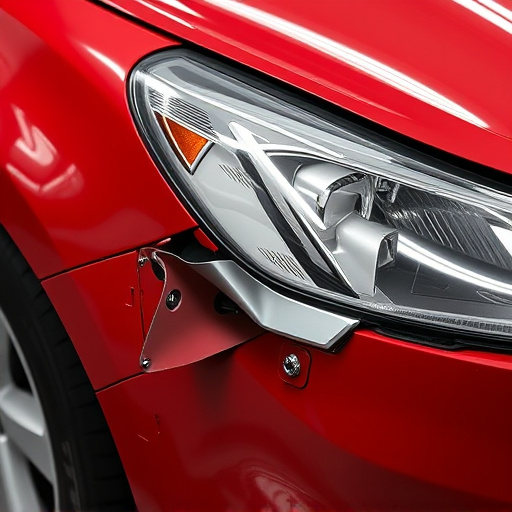
2. Accessing the Sensor: Locate the impact sensor, typically found near the driver’s side door or in the front bumper. Using your screwdriver, carefully remove any screws securing the surrounding panel. Gently pull the panel away from the car body to expose the sensor. Some models may require additional releases or clips to be removed first. Refer to your Tesla owner’s manual for specific details related to your vehicle model.
Replacing your Tesla impact sensor can be a straightforward process with the right knowledge and tools. By understanding the basics of these safety features and following a detailed guide, owners can confidently take on this DIY task. With this owner guide, you now have the resources to navigate through every step of the Tesla impact sensor replacement, ensuring your vehicle remains equipped with vital safety components. Remember, a well-maintained car is a safer car, and knowing how to perform basic repairs like this can save time and money in the long run.