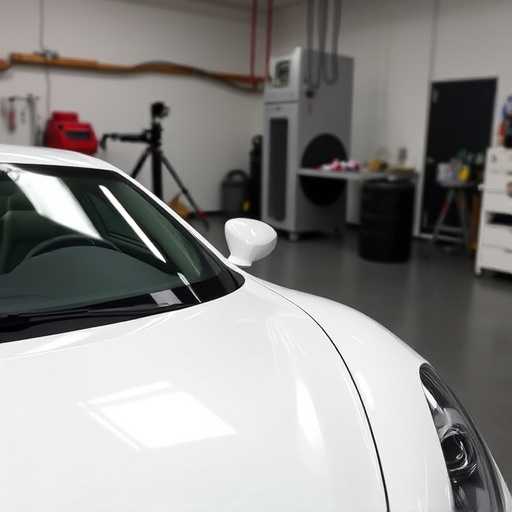


Tesla impact sensors are vital for EV safety, detecting forces and collisions. Replacing them requires careful disassembly, wiring connections, and clearing diagnostic codes via specialized tools to ensure optimal functionality and vehicle performance. This maintenance task is crucial for maintaining reliable safety systems alongside regular autobody repairs.
Tesla’s advanced safety features rely on crucial components like the impact sensors, which detect collisions and trigger airbags. This guide delves into the process of replacing a faulty Tesla impact sensor, offering a step-by-step approach for DIY enthusiasts or service professionals. Learn how to identify issues, acquire compatible parts, and clear diagnostic codes post-replacement to ensure your Tesla’s safety systems function optimally.
- Understanding Tesla Impact Sensors and Their Function
- Steps for Successful Impact Sensor Replacement
- Clearing Diagnostic Codes After Sensor Replacement
Understanding Tesla Impact Sensors and Their Function
Tesla Impact Sensors are crucial components of modern electric vehicles, designed to detect and analyze sudden forces or collisions. These sensors play a vital role in enhancing vehicle safety by triggering airbags, improving crash response systems, and providing real-time data for diagnostic purposes. Each sensor is strategically placed to monitor various areas of the car, including the frame, body panels, and components like the battery pack. In the event of an accident or impact, they quickly send signals to the vehicle’s control units, enabling faster and more accurate responses.
Understanding how these sensors function is essential for anyone considering a Tesla impact sensor replacement. When a collision occurs, the sensors’ unique technology can detect changes in pressure, acceleration, and other physical attributes. This data helps automotive body shops diagnose issues accurately during car restoration or frame straightening processes. By clearing diagnostic codes and replacing faulty sensors, owners ensure their Tesla’s safety systems remain effective and reliable.
Steps for Successful Impact Sensor Replacement
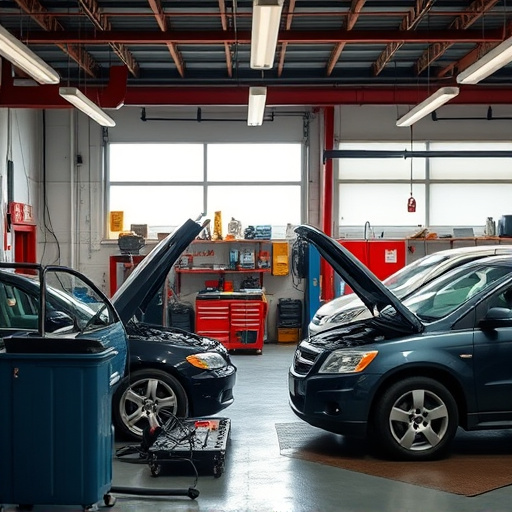
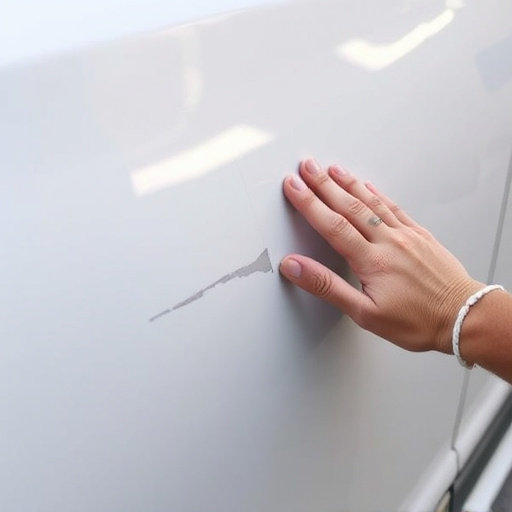
Replacing a Tesla impact sensor requires precision and the right tools to ensure a seamless process. Begin by identifying the location of the sensor, typically found in the vehicle’s suspension system, near the wheels. This step is crucial for accurate replacement and troubleshooting. Once located, carefully disconnect the old sensor from its wiring harness, taking note of each wire’s connection for easy reattachment later.
Next, obtain a compatible replacement sensor designed specifically for Tesla models. Ensure it meets the manufacturer’s standards for quality and performance. With the new sensor in hand, align it with the mounting holes and secure it firmly using the appropriate bolts or fasteners. After installing the sensor, double-check all connections to avoid any electrical glitches. Finally, clear the diagnostic code through the vehicle’s onboard computer to ensure the system recognizes the new sensor, completing the successful replacement process for optimal Tesla impact sensor performance.
Clearing Diagnostic Codes After Sensor Replacement

After successfully replacing a Tesla impact sensor, clearing any diagnostic codes is a crucial step to ensure your vehicle’s computer system recognizes the new sensor. This process involves using specialized tools and software to communicate with the car’s onboard diagnostics system. Many auto repair shops offer this service, utilizing advanced scanning tools that can retrieve and clear error codes related to the sensors.
By clearing these codes, you remove any flags indicating potential issues, ensuring your Tesla operates smoothly and efficiently. This is an essential maintenance task, especially after sensor replacements, as it allows for accurate readings and proper vehicle functioning. It’s a simple yet vital step in the auto repair process that keeps your car in top shape, enhancing overall performance and safety, alongside regular autobody repairs and auto maintenance practices.
Replacing a Tesla impact sensor is a straightforward process that can be accomplished by most owners, offering significant cost savings compared to professional repair. By understanding the sensor’s function and following the detailed steps outlined in this article, you’ll not only enhance your vehicle’s safety but also become more adept at DIY car maintenance. Additionally, clearing diagnostic codes after replacement ensures optimal performance and peace of mind on the road. Remember, a well-maintained Tesla is a safer and more enjoyable drive for everyone.