


The Tesla impact sensor is a critical safety component, triggering airbag deployment and collision repair mechanisms. Replacement involves gathering tools, understanding vehicle layout, disconnecting the battery, removing interior trim, replacing the old sensor with new, proper alignment, reassembling trim, and testing functionality. Secure vehicle on jack stand, carefully remove panels, use specialized tools to avoid damage. Consult a professional for complex cases or unfamiliar tasks to ensure accuracy and mitigate risks.
Looking to replace your Tesla impact sensor? This comprehensive guide walks you through the process, from understanding the sensor’s crucial role in enhancing vehicle safety to a step-by-step replacement tutorial tailored for beginners. We also offer valuable tips for navigating interior trim access and address common challenges encountered during the replacement process. Master the art of Tesla impact sensor replacement with these expert insights.
- Understanding Tesla Impact Sensor Functionality
- Step-by-Step Replacement Guide for Beginners
- Tips for Interior Trim Access and Common Challenges
Understanding Tesla Impact Sensor Functionality

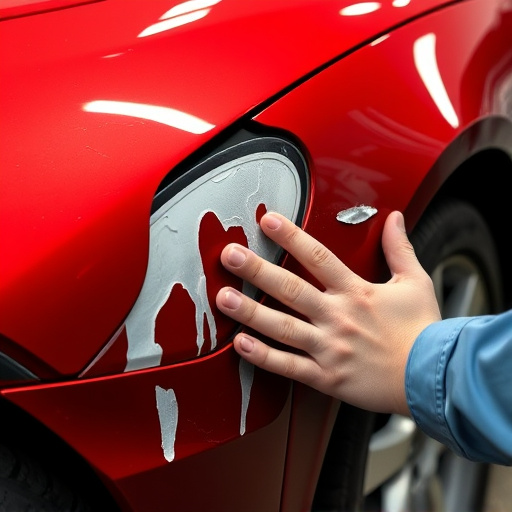
The Tesla impact sensor is a critical component in the vehicle’s safety system, designed to detect and respond to collisions. This sophisticated technology plays a vital role in triggering airbag deployment and activating collision damage repair mechanisms. When an accident occurs, the sensor swiftly assesses the impact and communicates this information to the car’s control unit, enabling rapid response measures to protect occupants.
Understanding how to access and replace a Tesla impact sensor is essential for both vehicle owners and collision repair shops. In the event of a crash, proper sensor functionality ensures that safety features operate as intended during collision repair processes. This knowledge allows for efficient troubleshooting and replacement procedures, minimizing downtime and ensuring the vehicle’s overall safety and reliability after a vehicle collision repair.
Step-by-Step Replacement Guide for Beginners

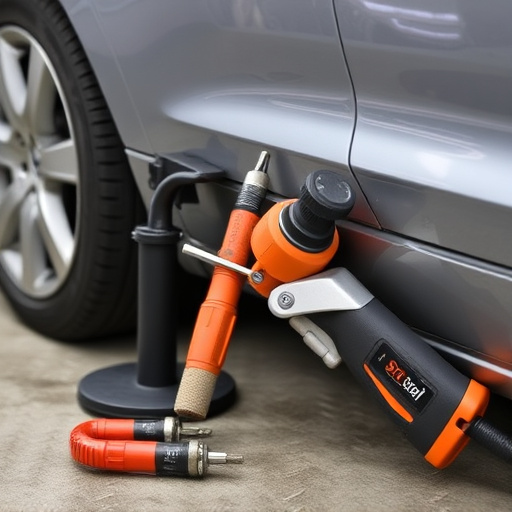
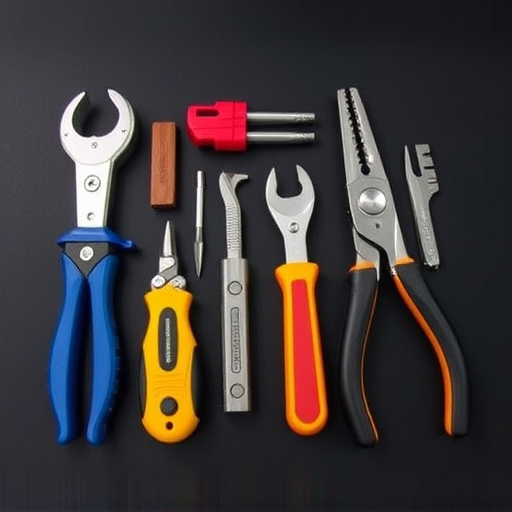
Replacing a Tesla impact sensor is a crucial task for any vehicle owner looking to enhance their car’s safety features. For beginners, this step-by-step guide can make the process less daunting. First, gather all necessary tools and parts, including the new impact sensor, which can be sourced from specialized automotive repair stores or direct from Tesla. Ensure you have a proper understanding of your vehicle’s layout to locate the sensor accurately.
Begin by disconnecting the battery to avoid any short circuits during the process. Then, carefully remove the interior trim around the sensor area. This may involve detaching various components like door panels, consoles, or dashboards. Once exposed, identify and locate the impact sensor, which is typically designed to absorb and measure collision forces. Remove the old sensor by unscrewing or unbolting it, taking note of its orientation for easy replacement. Install the new sensor, ensuring proper alignment, and secure it with the appropriate fasteners. Reassemble the interior trim, reconnecting all components, and test the functionality of the impact sensor to guarantee optimal performance in case of a collision. Remember, this guide offers a basic framework, and for complex cases or fleet repair services, consulting a professional mechanic is always recommended.
Tips for Interior Trim Access and Common Challenges

When it comes to Tesla impact sensor replacement and interior trim access, proper technique is key. Begin by securing the vehicle on a jack stand for stability, then carefully remove the affected panel to gain access to the sensors. Utilize specialized tools designed for tight spaces to avoid damaging surrounding components. Remember that precision is crucial, especially around intricate control modules and delicate interior features.
Common challenges in this process include finding the right replacement parts compatible with your Tesla model, navigating complex interior structures, and addressing potential water damage during disassembly or reassembly. For those unfamiliar with these tasks, consulting a professional technician from a reputable collision center or specializing in Tesla repair can ensure accuracy and mitigate risks associated with scratch repair, hail damage repair, and other aesthetic or structural issues.
Replacing a Tesla impact sensor or gaining access to interior trim doesn’t have to be daunting. By understanding the functionality of these components, following step-by-step guides, and knowing common challenges, you can confidently tackle these tasks yourself. Remember, DIY solutions can save time and money while ensuring your Tesla remains in top condition. For any complex issues, however, it’s always recommended to consult a professional mechanic for expert assistance. With the right knowledge and tools, you’ll be well-equipped to navigate the process seamlessly.