


Tesla impact sensor replacement is a do-it-yourself (DIY) possibility for those with automotive knowledge. Mounting locations include front and rear areas of the vehicle. Replacement involves tools, cleaning, secure installation, and tightening connections. Proper mounting from trusted sources ensures accurate alignment, enhancing safety systems' effectiveness during collisions or auto glass repairs.
Looking to replace your Tesla impact sensor? You’ve come to the right place. This comprehensive guide delves into the essential process of Tesla impact sensor replacement, covering everything from understanding these critical safety components to identifying their strategic mounting locations within your vehicle. We provide a step-by-step tutorial for a successful DIY replacement and share tips for efficient sensor mounting, ensuring optimal performance.
- Understanding Tesla Impact Sensors: Function and Location
- Step-by-Step Guide: Replacing Your Impact Sensor
- Common Issues and Tips for Efficient Sensor Mounting
Understanding Tesla Impact Sensors: Function and Location
Tesla Impact Sensors play a critical role in enhancing vehicle safety, particularly during collisions. These sensors are designed to detect and measure the force and intensity of impacts, enabling the car’s airbag system to respond swiftly and effectively. Located strategically throughout the vehicle, they act as the first line of defense in protecting occupants during an accident. Understanding where these sensors are mounted and how to replace them is essential for both automotive repair services and DIY enthusiasts looking into Tesla impact sensor replacement.
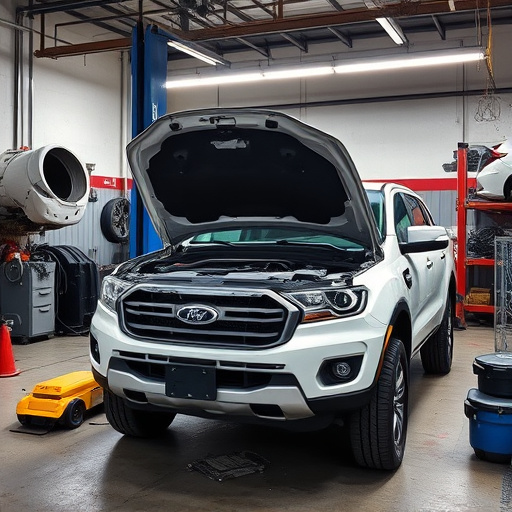
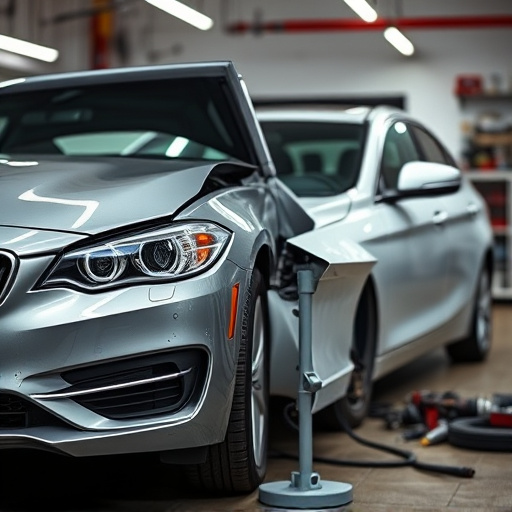
The mounting locations vary across different Tesla models but commonly include areas like the front end, doors, and sometimes even the rear. These sensors often resemble small, compact units integrated into the vehicle’s frame or body panels. During a collision, they absorb and transmit data about the crash force, ensuring that airbags deploy at the right moment and in the correct zones. Knowing these sensor locations is key when dealing with vehicle collision repair, as proper replacement ensures optimal safety features functionality after an accident.
Step-by-Step Guide: Replacing Your Impact Sensor
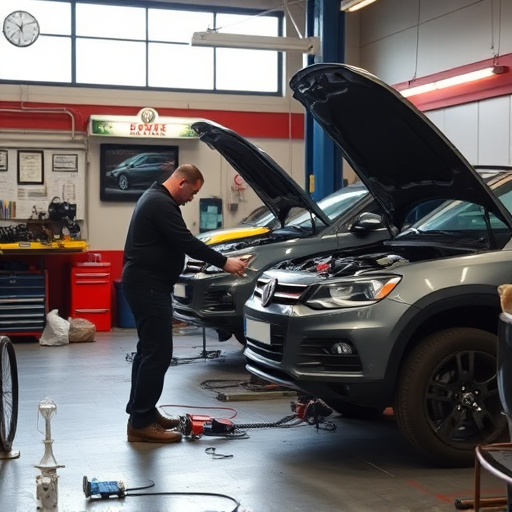
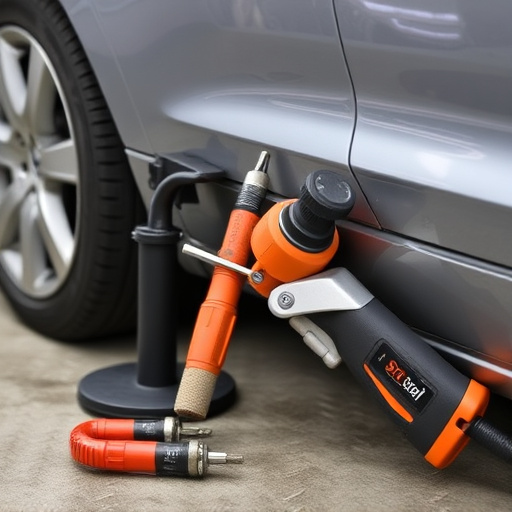
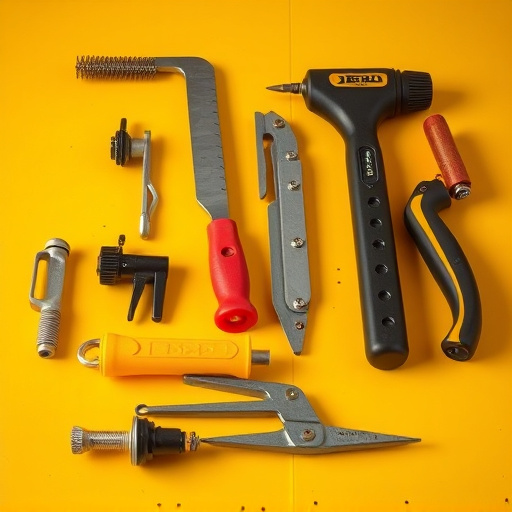
Replacing your Tesla impact sensor is a straightforward process that can be completed with the right tools and a step-by-step approach. First, gather all necessary parts and ensure your vehicle is parked on a level surface for safety. Then, locate the impact sensor, typically found near the front or rear of the vehicle, attached to the chassis or body panel. Next, using a suitable socket or screwdriver, carefully loosen and remove the existing sensor mount.
Once the old sensor is removed, clean the mounting location to ensure proper adhesion when installing the new sensor. Install the new impact sensor by securing it firmly in place with the appropriate fasteners. Double-check that all connections are tight before closing any panels or doors. For those not comfortable with car repair services, many auto glass repair professionals offer this service as part of their comprehensive range, ensuring a swift and reliable solution.
Common Issues and Tips for Efficient Sensor Mounting
When it comes to Tesla impact sensor replacement and efficient mounting, several common issues can arise. One of the primary challenges is ensuring accurate positioning, as even slight misalignments can affect the sensor’s performance. These sensors play a crucial role in modern vehicles, particularly in safety features like airbag deployment and collision avoidance systems. Therefore, proper mounting is essential to prevent false readings or malfunctions.
To streamline the process, consider these tips: utilize high-quality replacement sensors from trusted auto body services; clean and inspect the mounting locations thoroughly before installation; and refer to the vehicle’s service manual for precise guidelines. Remember, a well-mounted sensor can significantly enhance the overall effectiveness of your Tesla’s safety features, ensuring optimal performance in the event of a vehicle collision repair or auto glass repair scenarios.
Replacing your Tesla impact sensor is a relatively straightforward process that can significantly enhance vehicle safety. By understanding the sensor’s function and optimal mounting locations, you can ensure maximum protection for your electric vehicle. Following the step-by-step guide and addressing common issues will empower you to effectively maintain this critical component, contributing to a safer driving experience. For those looking to undertake this task, remember that proper sensor mounting is key, ensuring your Tesla’s collision detection system operates at peak performance.