


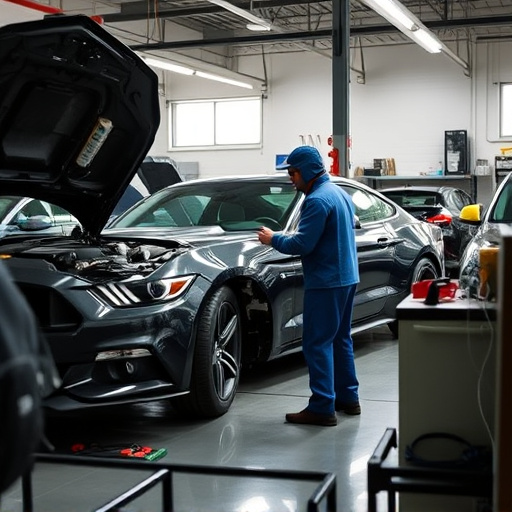


Tesla impact sensor replacement is a crucial task for maintaining electric vehicle safety. It involves isolating the car's power, carefully removing and installing new sensors, and retesting functionality. Skilled auto repair shops handle this process with specialized tools, ensuring proper isolation and intact safety systems, as battery disconnection is key to preventing accidents during repairs.
“Looking to replace your Tesla impact sensor? This comprehensive guide covers everything you need to know. We’ll first delve into understanding these crucial safety components, their role in protecting your vehicle, and common scenarios requiring replacement. Then, follow our step-by-step instructions for a safe and effective DIY process. Additionally, we explore ‘vehicle power isolation’ – a vital safety measure during replacement to prevent unwanted electrical events. Get ready to tackle your Tesla impact sensor replacement with confidence.”
- Understanding Tesla Impact Sensors: Their Role and Functionality
- Step-by-Step Guide to Replacing a Tesla Impact Sensor
- Vehicle Power Isolation: Ensuring Safety During the Replacement Process
Understanding Tesla Impact Sensors: Their Role and Functionality

Tesla Impact Sensors play a crucial role in modern vehicles’ safety systems. These sensors are designed to detect and respond to sudden impacts, such as collisions or debris on the road, helping to mitigate potential damage. By quickly assessing the force and location of an impact, Tesla’s advanced sensors enable the vehicle’s computer to activate collision-avoiding maneuvers or deploy airbags in a controlled manner. This proactive safety feature is a key differentiator in electric vehicles (EVs), where traditional internal combustion engine (ICE) cars rely more on passive safety measures.
When it comes to Tesla Impact Sensor Replacement, the process is similar to that of any automotive body shop specializing in EV repairs. As the sensors are integral to the vehicle’s power system, proper isolation techniques must be employed to prevent short circuits or power surges during the replacement. Auto repair shops equipped with knowledgeable technicians and specialized tools can handle these replacements, ensuring not just functional bumper repair but also maintaining the overall integrity of the vehicle’s safety systems.
Step-by-Step Guide to Replacing a Tesla Impact Sensor

Replacing a Tesla Impact Sensor is a task that requires precision and a good understanding of your vehicle’s systems. Here’s a step-by-step guide to help you navigate through the process, ensuring your Tesla’s safety features function optimally after completion.
1. Safety First: Before beginning any repair work, ensure your vehicle’s power is isolated. Disconnect the battery to avoid short circuits or accidents while working on sensitive electrical components like the impact sensor. Vehicle restoration involves intricate details, and protecting yourself and your car from potential harm should always be a priority.
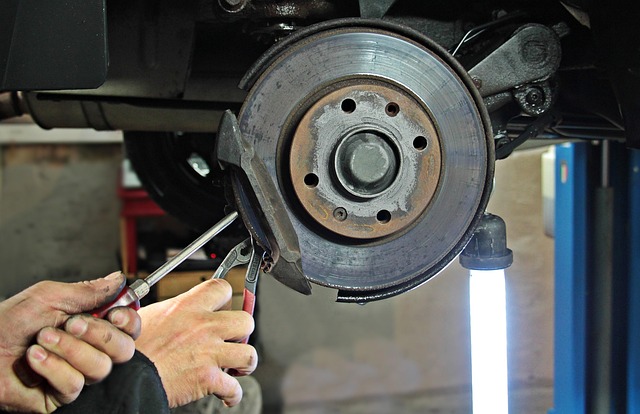
2. Locate the Sensor: Identify the impact sensor, typically found near the front or rear of your Tesla’s bodywork. These sensors are designed to detect sudden impacts or collisions, so they’re usually well-protected within the car’s structure. Once located, you can proceed with disassembling the surrounding components carefully, taking note of any screws or brackets that secure the sensor in place.
3. Remove and Replace: Using the right tools for the job, carefully remove the old impact sensor. Be mindful of any cables or wires connected to it. Clean the area thoroughly, ensuring no debris or dirt remains, as this could affect sensor performance. Install the new replacement sensor, securing it tightly in place with the appropriate hardware. Double-check all connections and tighten any loose components.
4. Test and Verify: After reassembling your Tesla’s car bodywork, test the impact sensor to ensure its functionality. This might involve simulating a collision (without causing damage) or using diagnostic tools to check the sensor’s response. If everything functions as expected, you’ve successfully replaced the Tesla impact sensor, enhancing your vehicle’s safety capabilities and adding value to your restoration efforts.
Vehicle Power Isolation: Ensuring Safety During the Replacement Process
During a Tesla impact sensor replacement, it’s crucial to implement robust vehicle power isolation measures for safety reasons. Before beginning any repair work, especially involving critical sensors and electrical systems, disconnecting the vehicle’s battery is essential. This prevents accidental shocks or short circuits that could lead to severe injuries or damage to the car during the Tesla impact sensor replacement process. Skilled auto body repair technicians understand the importance of following safety protocols, ensuring a controlled environment for the entire procedure.
Proper power isolation goes beyond just turning off the ignition. It involves utilizing specialized tools and techniques to completely isolate the electrical system, grounding components where necessary. This meticulous approach not only safeguards the technician but also ensures that the vehicle remains in a safe state throughout the vehicle repair services, facilitating accurate and efficient car damage repair without compromising integrity.
Replacing a Tesla impact sensor is a crucial task for any vehicle owner, as it directly impacts the safety features of your electric car. By understanding the sensor’s role in collision detection and following a structured replacement guide, you can ensure a smooth process. Vehicle power isolation is an essential step to guarantee safety during the procedure, preventing any potential electrical hazards. With these simple steps, Tesla owners can now tackle impact sensor replacements confidently, maintaining their vehicle’s advanced safety systems.