


Tesla impact sensor replacement is vital for enhancing vehicle safety and performance. Over time, environmental factors or accidents can cause sensors to malfunction, affecting collision detection and airbag deployment. Professional services are recommended to ensure proper installation and compatibility, as voiding warranties may result from amateurish work. The process involves gathering tools and parts, parking on a level surface, disconnecting connectors, installing the new sensor, reattaching components, testing with simulated impacts, and clearing persistent fault codes. Following these steps guarantees optimal sensor functionality for Tesla's safety systems.
Are you experiencing recurrent fault codes in your Tesla? The culprit could be a faulty impact sensor. These sensors play a crucial role in the vehicle’s safety systems, detecting collisions and deploying airbags accordingly. In this article, we’ll guide you through the process of replacing a Tesla impact sensor, addressing common issues and highlighting the benefits of doing so. Learn why it’s essential to address these sensors promptly for optimal vehicle performance and safety.
- Understanding Tesla Impact Sensors and Common Fault Codes
- Why Replace the Impact Sensor? Benefits and Potential Issues
- Step-by-Step Guide to Tesla Impact Sensor Replacement
Understanding Tesla Impact Sensors and Common Fault Codes

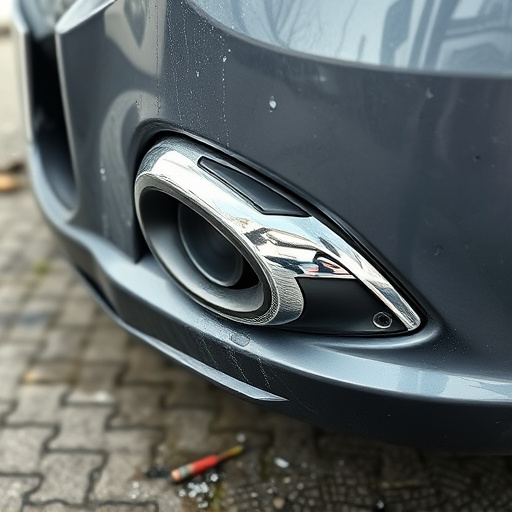
Tesla Impact Sensors are critical components for the vehicle’s safety system, designed to detect sudden impacts and deploy airbags accordingly. These sensors are strategically placed around the vehicle, particularly in areas prone to collision, like the front, sides, and sometimes even the rear. They play a pivotal role in automotive repair, especially when it comes to managing recurrent fault codes related to airbag deployment.
Common fault codes associated with Tesla Impact Sensors can include signals of potential sensor malfunction or misalignment. For instance, a code indicating an error in the front passenger airbag module might point to a faulty impact sensor, incorrect installation, or damage to the vehicle’s bodywork. In some cases, even minor discrepancies in sensor calibration can lead to persistent fault codes, emphasizing the need for precise frame straightening and meticulous automotive repair techniques during replacement procedures.
Why Replace the Impact Sensor? Benefits and Potential Issues

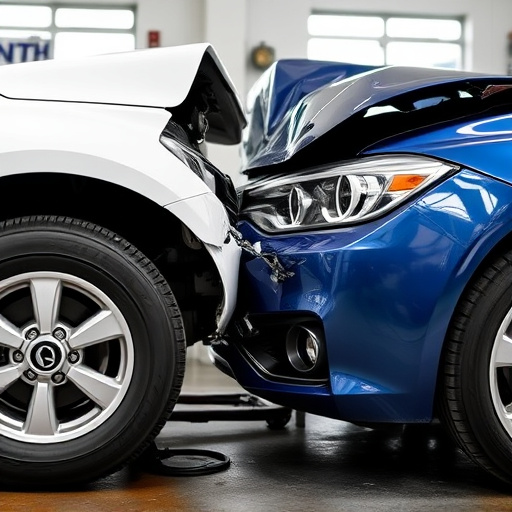
When dealing with recurrent fault codes in a Tesla, one component that often requires attention is the impact sensor. Replacing this sensor can bring several benefits to both vehicle performance and owner experience. The primary reason for a Tesla impact sensor replacement is to address issues related to accurate collision detection and airbag deployment, which are critical safety features. Over time, these sensors can become faulty due to environmental factors, road conditions, or previous accidents, leading to incorrect readings and potential airbag malfunction.
By replacing the impact sensor, vehicle owners can ensure enhanced safety during collisions. It also improves the overall reliability of the car’s computer system. While this process offers significant advantages, such as better auto dent repair capabilities for the vehicle and more accurate diagnosis from reputable auto collision centers, there are potential challenges to consider. Improper installation or compatibility issues might lead to further complications, so it’s crucial to seek professional services specializing in Tesla impact sensor replacement to avoid any complications that could affect the vehicle’s safety systems or void warranties.
Step-by-Step Guide to Tesla Impact Sensor Replacement

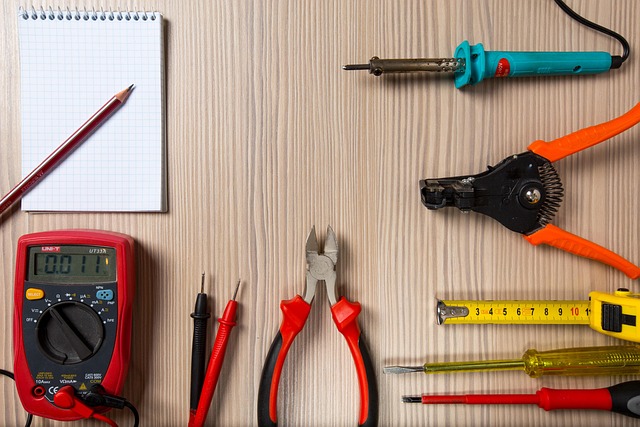
Replacing a Tesla Impact Sensor is a process that can be handled by the owner or a professional auto body shop, but it’s essential to follow the correct steps for successful completion. First, gather all necessary tools and parts, including the new impact sensor, which can be procured from a specialized Tesla spare parts supplier. Park your vehicle on a level surface and engage park assist for safety. Next, locate the impact sensor, typically found near the front or rear of the vehicle, depending on the specific model. Remove any surrounding components carefully to gain access.
Using a suitable tool, gently disconnect the electrical connectors from the sensor. Once the sensor is exposed, take note of its orientation and remove it completely. Clean the area thoroughly to ensure no debris remains. Install the new impact sensor, ensuring it aligns correctly. Secure it in place with the appropriate fasteners and reattach any removed components. Test the sensor by simulating an impact event and check for any fault codes using a diagnostic tool. If the code persists, consult a professional auto body shop or Tesla collision center for further assistance as auto body work may be required.
The Tesla impact sensor plays a crucial role in vehicle safety and diagnostics. By replacing it promptly when fault codes recur, owners can ensure optimal performance and peace of mind while driving. This step-by-step guide has provided a straightforward approach to handling this task, allowing folks to navigate the process with ease. Remember that proactive maintenance is key, so don’t hesitate to delve into sensor replacement when issues arise. In terms of Tesla impact sensor replacement, it’s a simple yet significant step for a smoother driving experience.